
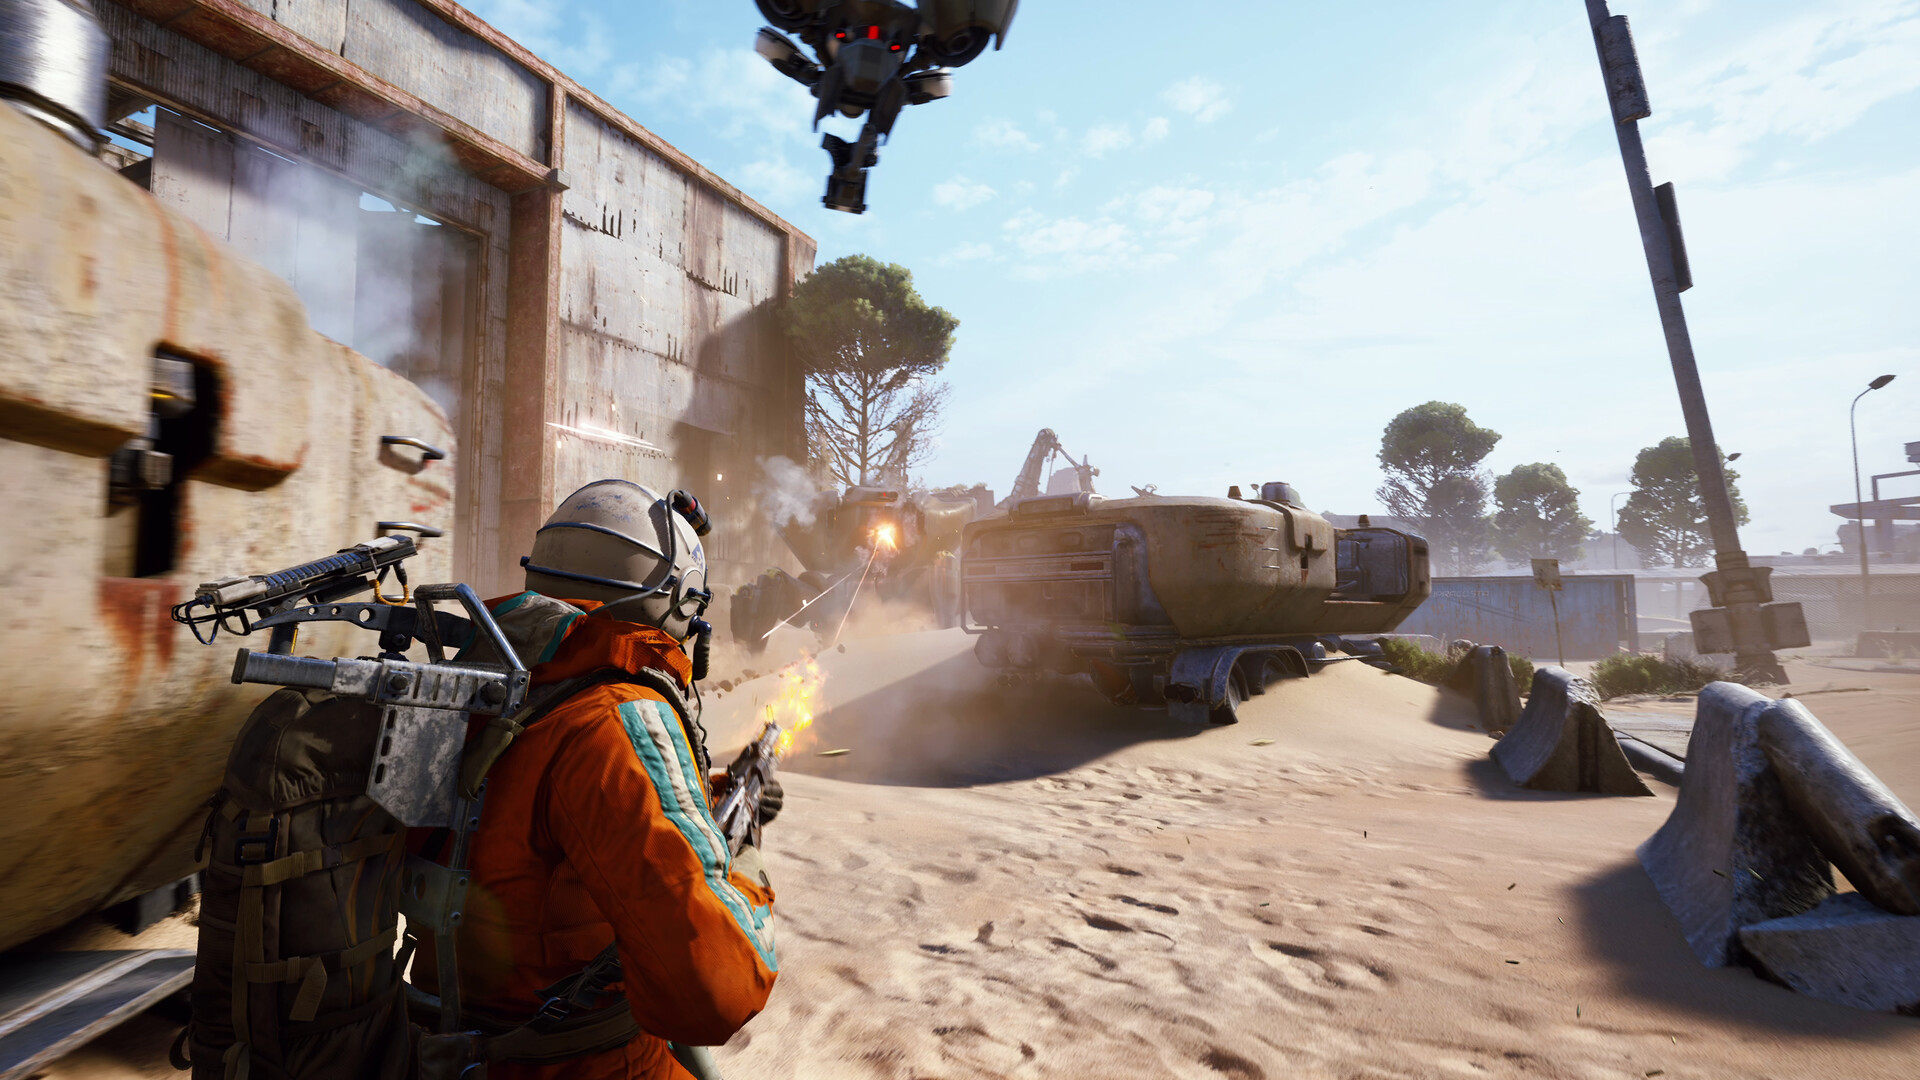
The Frigate is one of the most-mentioned locations in the tracked patch record, appearing across six separate official posts. That frequency is itself information: it is a place the developers have had to keep adjusting, which usually means it is a place where the game happens. For a solo raider, a place where the game happens is both the highest-value target and the highest-traffic one.
The route below assumes a solo raider with a cheap kit and one objective: get in, take a defined value threshold, get out. It is not a route for contesting the location. A solo raider who tries to hold a high-traffic landmark is playing a group game alone, and the arithmetic does not work.
Why the Frigate rewards timing over skill
A landmark attracts players in a predictable pattern. The first wave arrives early, moving fast, taking the obvious containers. The middle of the window is the crowd: players who arrived slightly late, players who are still working through the rooms, players who came for the same thing. The last wave is thin, and it consists of raiders who either found what they wanted elsewhere or are moving through on their way to an extraction.
A solo raider should be in the first wave or the last, never the middle. Early means before the crowd has formed, with the whole location ahead of you. Late means after the crowd has resolved, with the containers already open but the danger largely spent. The middle is where the encounters happen, and a solo raider does not want encounters at a landmark.
The entry, and why it is the whole decision
Entry decides which pattern you are in. An early entry from the quiet side means the location is empty ahead of you and the only risk is someone arriving behind. A late entry from the quiet side means the location has been worked and the risk is a straggler. Both are survivable. A middle entry from the obvious side is neither, because it puts you into the flow of traffic head-on.
The rule that follows is that the entry should be chosen for quiet rather than for speed. The extra ninety seconds of walking to a quiet approach is cheaper than the first contact, because the first contact is what converts a solo run into a fight the solo raider did not plan.
Room discipline
Inside the location, the discipline is to clear by sound rather than by sight. A room that is silent has a much higher chance of being empty than a room that looks empty, because a stationary player produces almost no sound while an unaware one produces some. Standing at a threshold and listening for five seconds is the cheapest information in the raid.
The second discipline is to never be in a corridor with no exit behind you. The Frigate’s internal geometry rewards raiders who know which door leads to which space, and punishes raiders who commit to a long corridor on the assumption that it is empty. A solo raider who enters a space should already know the second exit before crossing the first threshold.
The loot threshold
A solo run needs a stated value threshold before entry, because the alternative is a run that continues until something goes wrong. The threshold should be expressed in the terms that matter for the current workbench tier — the specific materials the next upgrade needs — plus a general value figure as a fallback.
The moment the threshold is met, the run has succeeded and the remaining time is optional risk. This is where solo raiders lose the most: not to a bad decision, but to the absence of a stopping rule. A stopping rule converts a successful run into an extraction; the absence of one converts it into a fight.
Getting out
The exit from a high-traffic landmark is the most dangerous part of the run, because it is the part where everyone else is also heading somewhere. The two options are to leave immediately on hitting the threshold, or to wait out a burst of activity and leave in the gap behind it. Leaving in the middle of activity is the worst of the three, because it means moving while others are moving.
Waiting costs time and is almost always worth it. A raider who waits two minutes in a covered position and then leaves through a quiet route extracts more often than one who leaves the moment the threshold is met. Patience at the exit is the cheapest insurance a solo raider can buy, and it costs nothing but the time that was already being spent.
When to abandon the run
Three signals mean the route should be abandoned before entry or shortly after. The first is a crowd: if the approach shows multiple parties moving toward the location, the timing is wrong and the correct move is to re-route rather than to compete. The second is a fight inside the location that is not yours, which means the traffic pattern has collapsed into the middle-of-window case. The third is an airborne unit marking the location, which turns the whole area into a timed problem.
Abandoning is not a failed run. A solo raider who re-routes to a secondary target and extracts has a successful raid; a solo raider who pushes into a crowd because the route said Frigate has an instructive death. The route is a plan for a situation, not a commitment to a place.